

How to Power a Starlink Mini in a Car

A Starlink Mini car charger setup needs a USB-C Power Delivery (PD) source rated for 100 W at 20 V and 5 A when it uses a USB-C to barrel jack cable. A PD source rated 65 W or lower will not run the Mini through that cable. The barrel plug does not change the USB-C PD requirement at the charger's end. Starlink lists 12-48 V DC at 60 W as a separate specification for a direct DC feed into the barrel jack, not as a lower requirement for a USB-C-to-barrel setup. See the Starlink Mini power specification and Starlink's USB-C cable guidance.
Power sources: pass or fail
| Power source | Result | What to check |
|---|---|---|
| USB-C PD source rated 100 W at 20 V/5 A | Pass | The port must offer that output profile. |
| USB-C PD source rated 65 W or lower | Fail | A matching plug cannot make up for insufficient PD output. |
| Factory vehicle USB-C port | Unverified | Check its published output profile; do not assume it supplies 20 V/5 A. |
| 12 V socket plus a 100 W PD car charger | Pass | The charger's USB-C port must provide 20 V/5 A. |
| Direct 12-48 V DC feed | Pass | Use the direct DC input within Starlink's specified range and 60 W rating. This is not the USB-C-to-barrel cable route. |
| Power bank | Pass only while it holds 100 W at 20 V/5 A | Check its USB-C output profile and test it under load. |
Read the output rating for the specific USB-C port you plan to use. A charger's combined wattage across multiple ports is not the same as its output on one port. If a label gives several voltage and current combinations, look for 20 V/5 A rather than relying on the largest wattage printed on the packaging. The same check applies to a power bank: its capacity tells you how long it may run, not whether its USB-C port offers the required profile.
For a conventional car setup, the 12 V socket supplies vehicle power and the PD car charger provides the required USB-C output. The USB-C to barrel jack cable carries that power to the Mini. Do not apply the direct DC feed's 60 W rating to this USB-C cable path. If you are planning a direct battery connection instead, see the separate requirements for 12 V conversions for vehicle power setups and check the voltage delivered at the Mini.
What you need
- A working 12 V socket. Check whether it remains powered with the ignition off if you intend to use the Mini while parked. Do not assume a cabin socket is connected to an RV house battery rather than the starter battery.
- A car charger with a USB-C port rated 100 W at 20 V/5 A. Check the rating for that port, including its rating when the USB-A port or another USB-C port is in use.
- A USB-C to barrel jack cable long enough for the route. The USB-C end connects to the PD charger; the barrel jack connects to the Mini. Choose the length after measuring from the socket to the mounted dish, not the straight-line distance between them. The Starlink Mini USB-C power cable is one cable option.
- A stable mount. Secure the Mini so the mount supports it and the power cable carries no weight. Leave enough slack at the barrel connection to prevent movement from pulling on the plug.
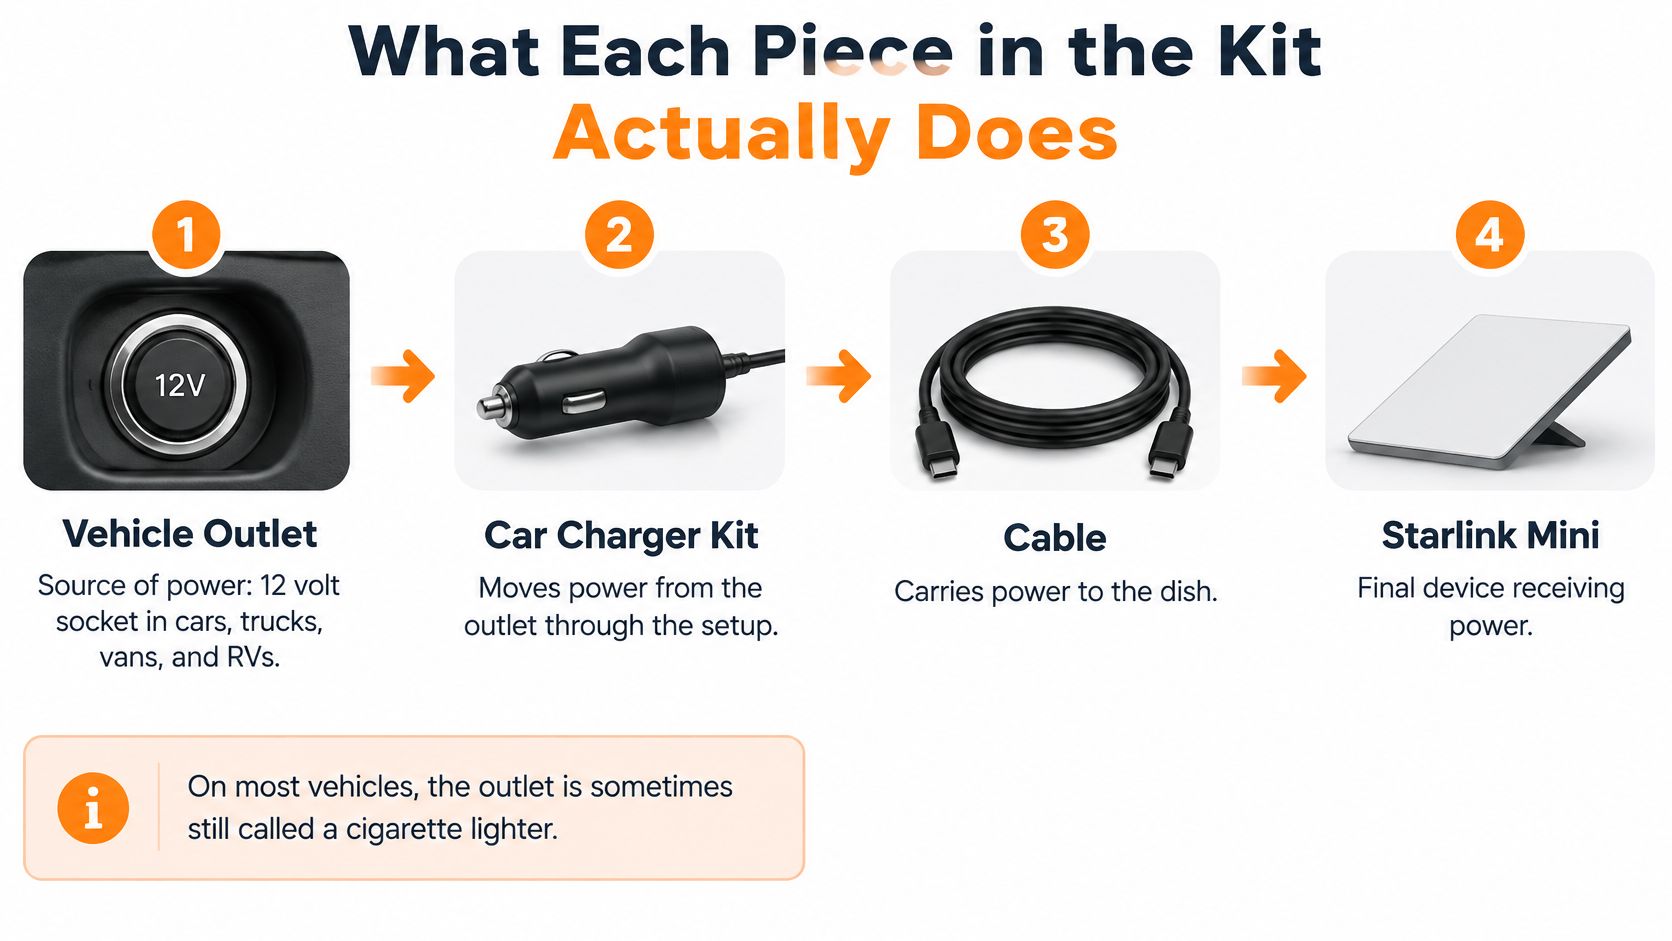
You do not need an inverter for this 12 V socket and PD charger setup. The charger handles the conversion from vehicle power to the USB-C PD output the cable requires. Keep the charger and USB-C connection protected from water, and follow Starlink's cable guidance when planning an exterior route.
Test before you drive
- Check the socket. Confirm it supplies power in the ignition state you plan to use. If you will run the Mini while parked, test that condition too.
- Read the charger's port label. Confirm its USB-C output lists 100 W at 20 V/5 A. If you will charge another device at the same time, check the charger's simultaneous-use ratings.
- Route the cable with doors closed. Keep it clear of pedals, hinges, sharp edges and pinched seals. Leave slack at the Mini and secure loose cable inside the vehicle.
- Mount and connect the Mini. Use the same mounting surface and cable route you will use on the trip. Make sure movement of the dish does not tug on the barrel jack.
- Wait for the Mini to boot. A light on the charger only shows that the charger has power; it does not prove the Mini received the required PD output.
- Leave the setup running for several minutes. Check for shutdowns, loose plugs or an overheating charger. Repeat with any second device plugged in if that is how you will use the charger.
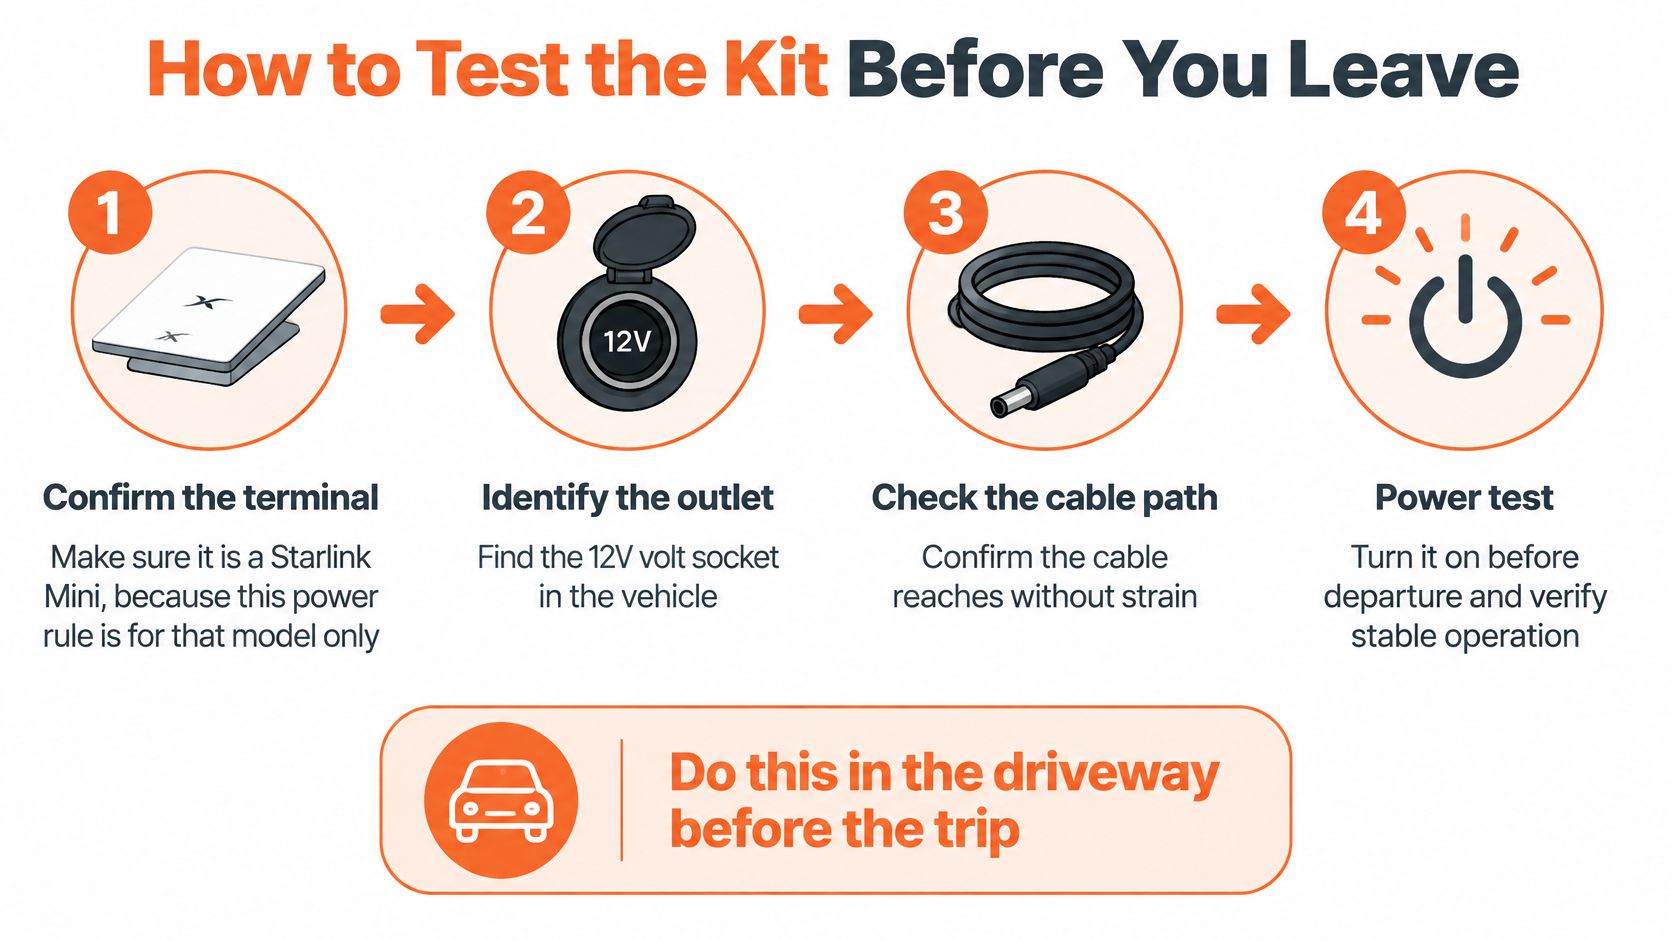
If the Mini does not boot, check the socket, the 20 V/5 A output rating and every connection before replacing parts. If it boots and then shuts down, test the charger without a second device and check that the socket and plugs remain connected under load. A driveway test should use the full mounted setup, not a shorter cable laid beside the vehicle.
Vehicle layouts
The power requirement stays the same across vehicles. What changes is the distance from the outlet to the Mini, the mounting surface and the exposure of the cable run.
| Vehicle | Typical outlet and Mini location | Cable and mounting check |
|---|---|---|
| Car or crossover | Dash or console socket; interior glass or dash mount | Keep the short run clear of controls and out of the footwell. |
| Pickup | Cab socket; Mini on a bed rack | Measure the full route through a safe door or window opening, with slack at both ends. |
| Camper van or RV | Interior socket; Mini on a roof or exterior mount | Confirm the socket stays powered when parked and plan the exterior cable route. |
| Boat or off-road rig | Protected outlet; Mini on a deck, rack or bar | Secure the plug against vibration and protect connections from spray and abrasion. |
A roof or rack installation may need considerably more cable than an interior mount, even when the Mini looks close to the outlet. Work out the route before choosing between cable lengths. Keep the charger inside a protected area and secure any exposed run so that it cannot rub against an edge or pull on the terminal.
This video shows a vehicle setup and its cable routing:
Pre-buy checklist
- Check per-port output with two devices connected. A dual-port charger's advertised total may be split when the second port is used. Make sure the Mini's USB-C port still offers 20 V/5 A under your intended configuration.
- Measure with doors closed. Follow the actual cable path around trim and seals, then leave slack so the cable is not stretched or pinched. If you are considering a battery mount kit for portable Mini use, check its power source for the same 100 W, 20 V/5 A PD output.
- Use magnets only on suitable steel. Rubber-coated magnets will not hold on aluminum or fiberglass. Verify the actual panel material before choosing a magnetic mount.
- Match suction cups to a smooth surface. Smooth glass, painted metal, aluminum and fiberglass can provide a suitable surface; confirm the seal and mount hold before driving.
Starlink Mini car mount and power kit
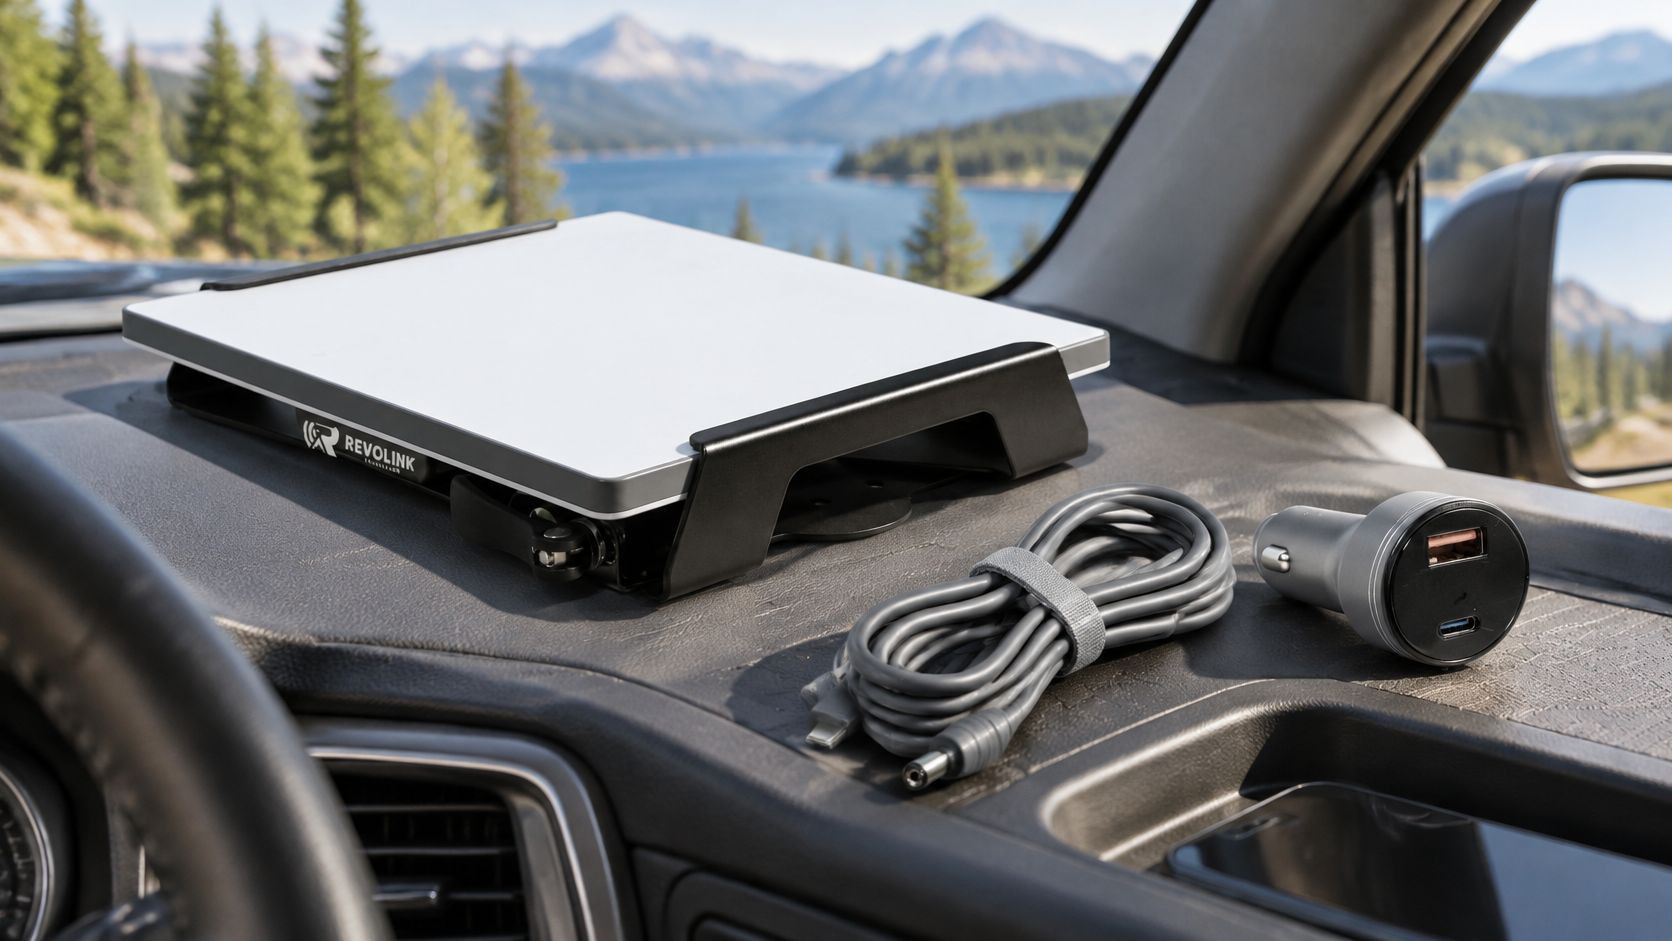
The Revolink Starlink Mini Car Mount & Power Kit includes a Quick Release Mount, a USB-C to barrel jack cable in 6.5 ft or 16.4 ft, and a 120 W USB-C PD car charger with USB-C and USB-A ports. It runs the Mini from a working 12 V socket without an inverter. Choose the cable length and mount for your vehicle, and check the charger's USB-C per-port rating when using both ports. If those match your layout, the kit provides the power and mounting parts in one setup.


